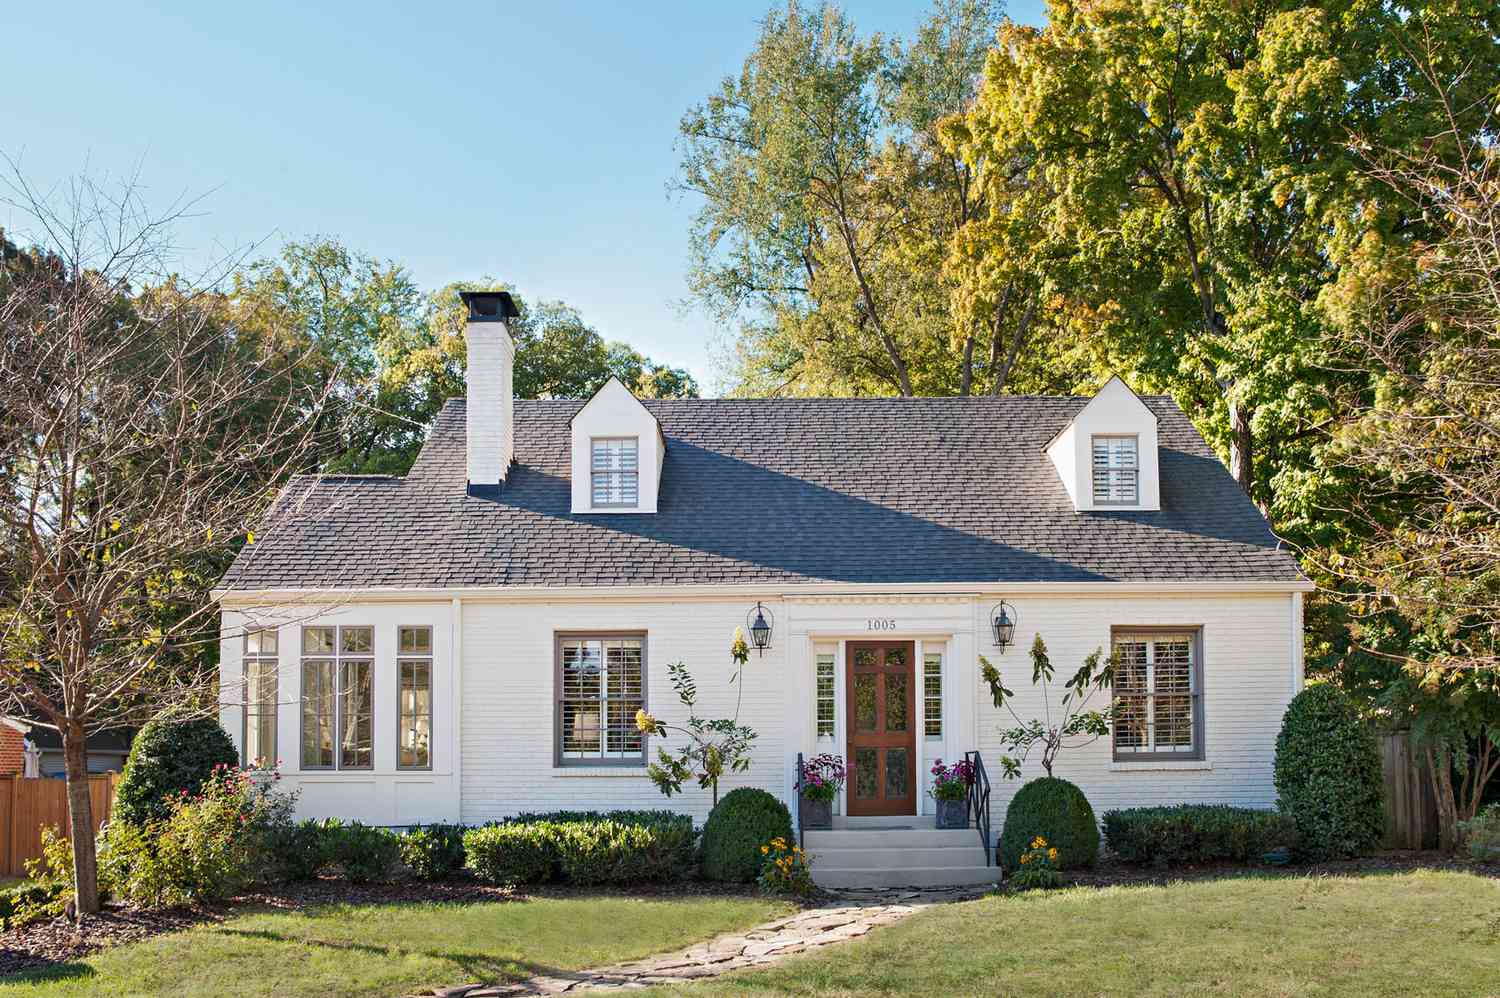
A Biased View of Roof Installation In San Antonio Tx
Table of ContentsThe Best Strategy To Use For Roof Installation In San Antonio TxWhat Does Roof Installation In San Antonio Tx Do?The 30-Second Trick For Roof Installation In San Antonio TxGetting The Roof Installation In San Antonio Tx To WorkGetting The Roof Installation In San Antonio Tx To Work
You can see how that little bend permits the rake drip side to overlap the eave drip edge as well as there are no spaces in this edge where water could function its method. Otherwise, if you were to just cut your eave drip edge flush with the gable end, there would certainly be a gap here.Once the initial piece got on, I can continue running drip side down the eave side, splashing the items of drip side about 2" where I needed to begin a new item. To splash the items, I simply laid the following piece of drip side in addition to the previous item, nailing both pieces in position, yet Jamie from the Perkins Home Builder Brothers had a fantastic tip in among their recent video clips where he demonstrated how you can notch the seamed edge and after that slip the two items of flashing together - Roof Installation in San Antonio TX.
Anyway, from there I just advanced down the eave edge, setting up more drip side. Simply a note right here, a lot of items of steel flashing like this are mosting likely to come in lengths around 10 feet, as well as this size is figured out by the dimension of the metal break at the manufacturer of your flashing.
The 6-Minute Rule for Roof Installation In San Antonio Tx
Additionally, we were sweating off of our walk-board configuration considering that the roofing deck was a little wintry and also, consequently, very glossy, therefore we likewise went on and also vomitted bundles of tiles as we went along, which was a whole lot less complicated than trying to walk them up a ladder later on (Roof Installation in San Antonio TX).
I cut the bottom end of the rake drip side to match the roofing system pitch, which was 4/12 in our case, as well as this was easy to layout with my rate square. When that was done, we established the drip edge in place to note the size, and also the top side of the drip side required to be reduced despite the height of the roof covering ridge.
How Roof Installation In San Antonio Tx can Save You Time, Stress, and Money.
To complete this, I made a cut matching the roof pitch angle on the front face of the drip edge, about 3 inches from completion of the piece. After making that cut, I made a second cut along the corner of the drip side, developing a flap on the leading face of the drip edge which might overlap the previous piece.
Next, we could obtain this item mounted, as well as we initially set the piece in location to mark where I would certainly need to cut the various other end, which once more was cut to match the roof pitch. We got the item installed, bending that overlapping flap over the ridge, and also you can see in this shot of me taping the drip edge later on how the two items overlap.
Because that edge was cut matching the roof pitch, it provides the impression that the pieces were mitered together, when actually they're lapped. Roof Installation in San Antonio TX. We continued installing the rest of the drip edge on the back side of the building, in addition to the other gable end, and we did require to go in advance as well as install those soffit vents before setting up the drip edge in that area where the rear end of the building bumps out, considering that they would have been extremely difficult to set up later.
The Facts About Roof Installation In San Antonio Tx Uncovered
I then nailed the ends of the rake drip side off electronic camera and after that I can tape the rake drip edge, washing the tape onto the eave drip side. When setting up anything on a roof covering, you primarily wish to mount it like a roof shingles, lapping things higher on the roofing onto things lower on the roof.
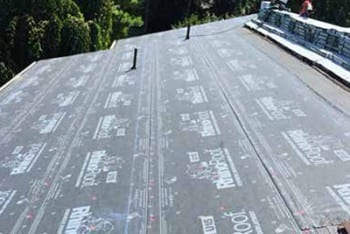
This 5 cut approach made click here for info the setup of these roof shingles go extremely fast, as we might quickly make these cuts on the ground and also then solve to installation once we mindful the roofing system. Prior to mounting the roof shingles, we required to add a starter strip along the whole perimeter of the roofing and we utilized TAMKO's perforated starter strips here.
You can likewise cut your very own starter strips from your regular roof shingles, which I'll receive a little bit, yet this winds up throwing away a whole lot of product, so it's generally a much better suggestion to make use of starter strips on a bigger roof job like this. Before setting up the starter strips, we proceeded as well as snapped 2 lines at the bottom of the roofing system, one for the starter strip and also one for the very first program of tiles.
The Definitive Guide for Roof Installation In San Antonio Tx
We snapped the chalk lines" closer to the roofing system side than the real size of the starter strip and roof shingles, as well as this made certain the tiles had a constant" overhang on the eave edge, which we likewise matched on the rake edge. Once our lines were snapped, I crosscut the first starter strip to counter the seam from the first course of tiles and after that I can get it mounted, lining it up with my chalk line for the eave overhang and also just aesthetically adding the" overhang on the rake.